Home > News > Industry News
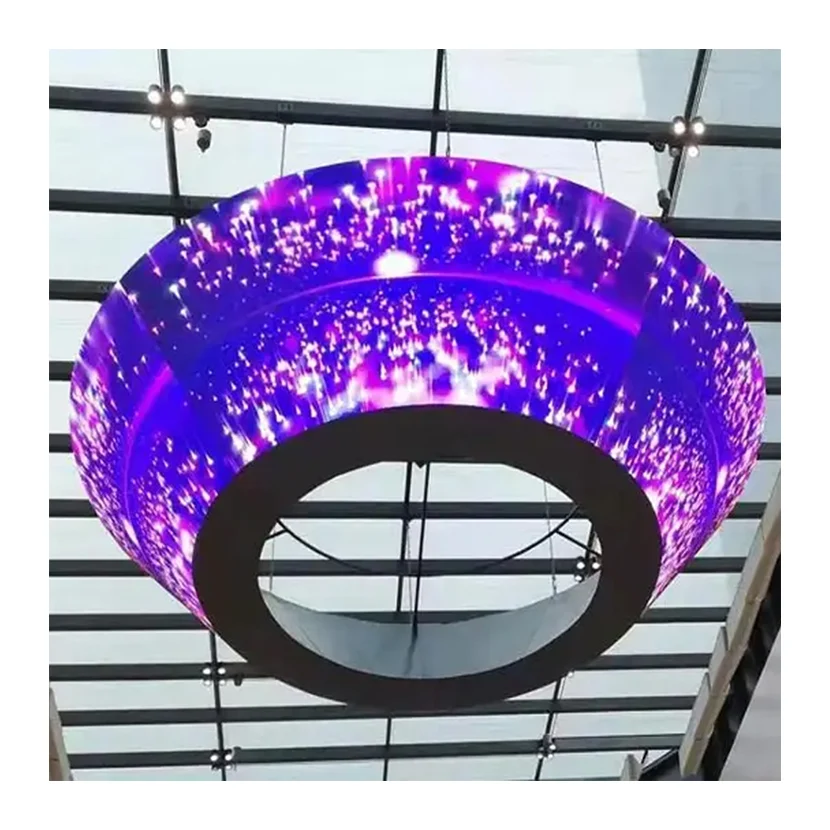
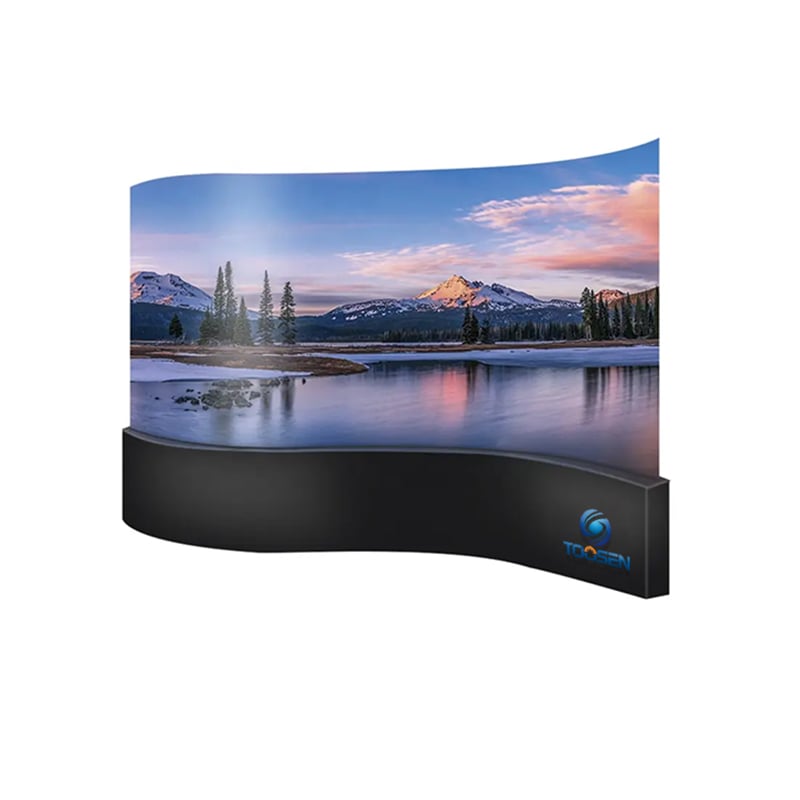
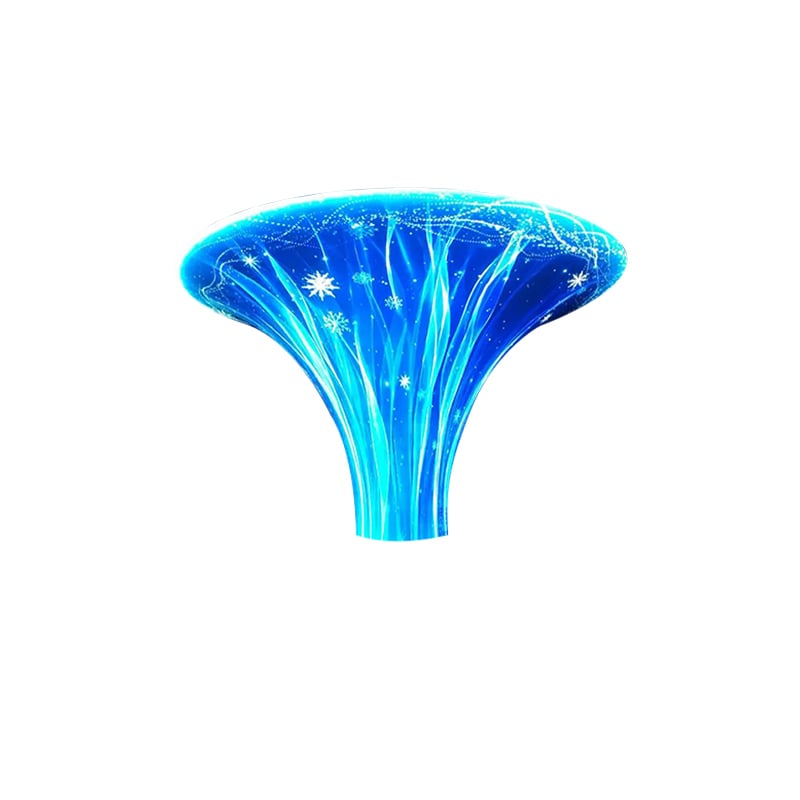
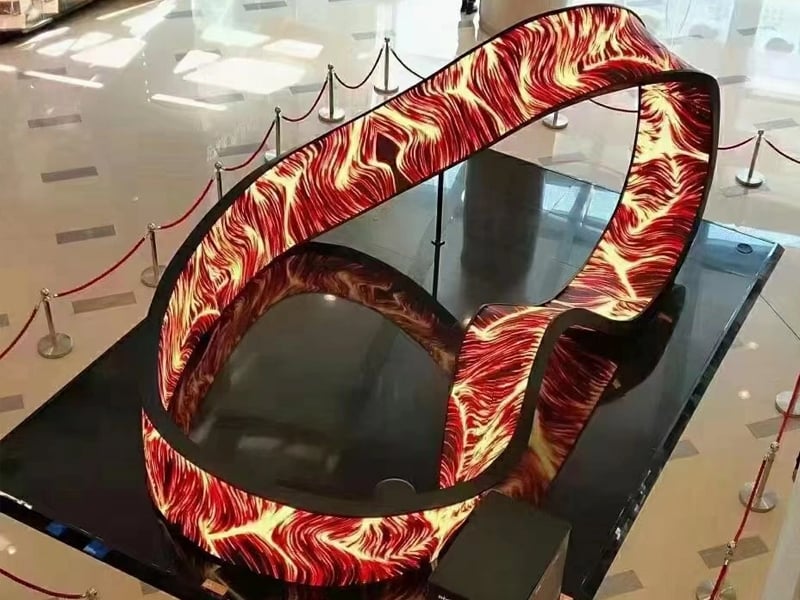
A dead pixel on a curved LED screen can affect image quality and reduce the overall visual experience. Fortunately, you can repair most dead pixels using methods similar to those used for flat LED displays. However, curved LED screens require extra care because the modules follow a specific radius and often provide less maintenance space.
This guide explains how to identify the problem and choose the most effective repair method.
Before starting any repair, determine what type of fault you are dealing with.
| Symptom | Possible Cause | Repair Difficulty |
|---|---|---|
| Pixel always black | Dead LED | Medium |
| Pixel always bright | Stuck pixel | Easy to Medium |
| Pixel appears dim | Weak LED | Medium |
| Small area not displaying | Module or cable issue | Easy |
| Entire row or column not displaying | Driver IC failure | Difficult |
Accurate diagnosis helps you avoid unnecessary component replacement and reduces maintenance time.
Unlike flat LED displays, curved LED screens consist of multiple curved modules connected at precise angles. Therefore, technicians should pay attention to several additional factors during maintenance.
The curved structure often leaves very little room between modules. In some cases, you must loosen neighboring modules before accessing the damaged area.
Because signal and power cables bend along the curve, they experience long-term mechanical stress. As a result, loose connections and cable fatigue occur more frequently. Always inspect cables before replacing LEDs.
Manufacturers design curved LED modules with specific installation directions. When reinstalling a module, maintain the original orientation to ensure proper alignment and image quality.
The front mask follows the screen's curvature. After maintenance, secure every clip properly to prevent pressure on nearby LEDs.
When only one LED fails, replacing the LED package usually solves the problem.
First, use the LED control software's pixel detection or dead-pixel testing function. This allows you to identify the exact coordinates of the failed LED.
Next, access the affected module.
Then replace the defective LED.
Because curved LED displays often use high-density pixel pitches, work carefully and use precision tools.
Power on the module before reinstalling it. Verify that brightness and color match the surrounding pixels.
Finally, reinstall the mask and ensure every clip locks firmly into place without creating uneven pressure on the LED surface.
A bright pixel remains illuminated even when it should be off.
Many LED control systems include dead-pixel compensation or pixel-masking functions. These features can temporarily suppress the bright pixel until hardware repairs are scheduled.
If software correction does not resolve the issue, replace the affected LED package following the procedure described above.
When multiple pixels or a small section of the screen stops working, check the connections before replacing any hardware.
Since cables on curved screens remain under constant bending stress, connection failures often cause these symptoms.
If an entire row or column stops working, the problem usually originates from the driver IC.
In this situation, technicians typically:
For many maintenance teams, module replacement offers a faster and more reliable solution.
Always use modules with the same model number, batch, and curvature. Otherwise, you may create visible gaps, uneven surfaces, or color inconsistencies.
After replacing LEDs or modules, recalibrate brightness and color using the LED control system. This step helps the new components match the aging characteristics of the surrounding display.
Place removed masks on a flat surface and avoid stacking heavy objects on top of them. Even minor deformation can affect reinstallation accuracy.
Many front-service curved LED displays use magnetic modules. Use the proper magnetic extraction tool and pull straight outward. Avoid pulling at an angle, which may damage nearby LEDs.
On-site repair is not always the best option. Consider factory service when:
Most dead pixels on a curved LED screen can be repaired successfully through LED replacement, cable inspection, or module maintenance. However, curved displays introduce additional challenges such as limited access, cable stress, and curvature matching. By diagnosing the fault correctly, using compatible spare parts, and recalibrating the display after repair, you can restore image quality while extending the screen's service life.
 EN
EN
 AR
AR
 BG
BG
 HR
HR
 CS
CS
 DA
DA
 NL
NL
 FI
FI
 FR
FR
 DE
DE
 EL
EL
 HI
HI
 IT
IT
 JA
JA
 KO
KO
 NO
NO
 PL
PL
 PT
PT
 RO
RO
 RU
RU
 ES
ES
 SV
SV
 TL
TL
 ID
ID
 SR
SR
 UK
UK
 VI
VI
 ET
ET
 HU
HU
 TH
TH
 TR
TR
 FA
FA
 AF
AF
 MS
MS
 GA
GA
 HY
HY
 AZ
AZ
 MN
MN
 UZ
UZ