Home > News > Industry News
Dead pixels can reduce image quality and affect the overall viewing experience of an LED display. Fortunately, you can identify most pixel defects through visual inspections, software diagnostics, and professional testing equipment.
This guide explains how to detect dead pixels accurately, classify different pixel issues, and establish a reliable inspection routine.
Visual testing remains the fastest and most effective way to identify obvious pixel defects.
Display five solid-color backgrounds one at a time: black, red, green, blue, and white.
Each color helps reveal different types of pixel failures.
| Test Screen | Detectable Issues | What to Look For |
|---|---|---|
| Black | Bright pixels | Any illuminated pixel in a dark environment indicates a fault. |
| Red | Missing red pixels, color defects | Pixels that remain dark or display the wrong color. |
| Green | Missing green pixels, color defects | Pixels that fail to display green correctly. |
| Blue | Missing blue pixels, color defects | Pixels that remain dark or show incorrect colors. |
| White | Dead pixels, dim pixels, color shifts | Pixels should display balanced RGB output without discoloration. |
Start by standing 3–5 meters (10–16 feet) away to evaluate the overall screen uniformity. Then move closer—within approximately 1 meter—to verify any suspicious pixels individually.
Some pixel defects remain difficult to see on solid-color backgrounds.
To uncover these issues, display a grayscale gradient that transitions smoothly from black to white.
A dim pixel may appear noticeably darker than surrounding pixels at certain grayscale levels.
Color-shifted pixels often create visible bands or patches where color transitions should appear smooth and uniform.
Because grayscale testing reveals subtle brightness differences, it helps identify early-stage pixel degradation before complete failure occurs.
Certain defects only appear when the screen displays moving content.
For this reason, technicians often use:
These pixels switch on and off intermittently and become much easier to spot during motion scenes.
Loose connections may cause pixels to disappear temporarily during content changes. In many cases, the affected location changes depending on signal conditions.
Modern LED control systems offer built-in diagnostic tools that often detect defects more accurately than visual inspection alone.
| Function | Purpose | Typical Use |
|---|---|---|
| Dead Pixel Detection | Identifies non-responsive LEDs | One-click screen scan |
| Pixel Brightness Analysis | Measures brightness variations | Generates brightness reports |
| Burn-In Testing | Reveals hidden defects through continuous operation | Acceptance testing and maintenance verification |
Most professional control platforms provide detailed diagnostic reports that simplify maintenance and repair planning.
For high-end installations and fine-pitch LED displays, professional instruments provide the most accurate results.
This method uses a high-resolution camera to capture the entire display while specialized software analyzes each LED individually.
Many LED manufacturers use this technique during factory calibration and quality control.
Technicians can measure the brightness and color coordinates of suspicious pixels directly.
This approach works particularly well for:
When the root cause remains unclear, an oscilloscope can help determine whether the issue originates from:
This method proves especially useful when troubleshooting intermittent faults.
The following table helps identify pixel issues quickly.
| Symptom | Defect Type | Possible Cause | Urgency |
|---|---|---|---|
| Pixel remains red on a black screen | Bright pixel | LED chip breakdown or driver short circuit | Medium |
| Pixel remains black on a white screen | Dead pixel | Open circuit or poor solder joint | Low |
| Pixel appears yellow, purple, or another incorrect color | Color-shift pixel | One RGB channel has failed or degraded | Medium |
| Pixel is significantly dimmer than surrounding pixels | Dim pixel | LED aging or insufficient drive current | Low |
| Pixel works intermittently and recovers after vibration | Poor connection | Loose cable or solder joint | High |
| Entire row or column fails | Row/column failure | Driver IC or cable issue | High |
Always perform black-screen tests in a dark room whenever possible.
Excessive ambient light can hide bright pixels and make small defects harder to detect.
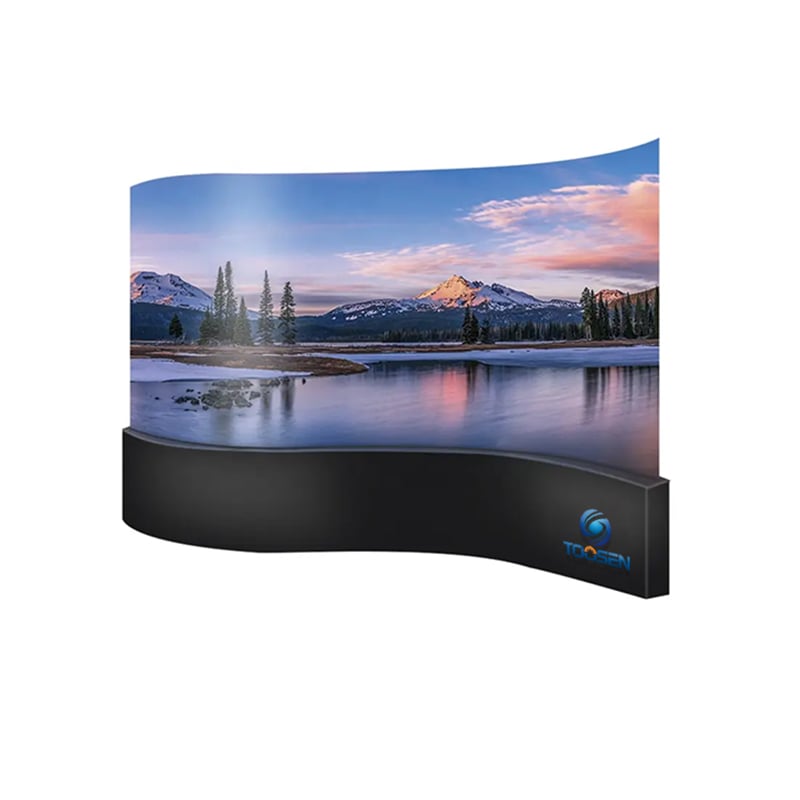
This step becomes particularly important for curved LED screens.
View the display from:
Some defects only become visible at specific viewing angles.
Conduct inspections:
Thermal expansion can temporarily expose hidden soldering or connection issues.
As soon as you identify a defect, document its location accurately.
Recording row and column coordinates helps technicians locate the problem quickly during maintenance.
A simple inspection workflow can catch most defects before they become serious problems.
1. Black Screen Test → Check for Bright Pixels
2. White Screen Test → Check for Dead Pixels
3. Red / Green / Blue Test → Check for Missing Colors
           ↓
4. Grayscale Test → Check for Dim Pixels and Color Shifts
           ↓
5. Motion Test → Check for Flickering Pixels
           ↓
6. Run Software Diagnostics
           ↓
7. Export and Save Defect ReportsIdentifying dead pixels on an LED screen requires a combination of visual observation, automated software diagnostics, and professional measurement tools. While simple solid-color tests can reveal obvious defects, grayscale patterns, motion testing, and calibration systems help uncover subtle issues before they impact display quality.
By following a regular inspection schedule and documenting defects early, operators can maintain optimal image performance, reduce downtime, and extend the lifespan of their LED displays.
 EN
EN
 AR
AR
 BG
BG
 HR
HR
 CS
CS
 DA
DA
 NL
NL
 FI
FI
 FR
FR
 DE
DE
 EL
EL
 HI
HI
 IT
IT
 JA
JA
 KO
KO
 NO
NO
 PL
PL
 PT
PT
 RO
RO
 RU
RU
 ES
ES
 SV
SV
 TL
TL
 ID
ID
 SR
SR
 UK
UK
 VI
VI
 ET
ET
 HU
HU
 TH
TH
 TR
TR
 FA
FA
 AF
AF
 MS
MS
 GA
GA
 HY
HY
 AZ
AZ
 MN
MN
 UZ
UZ