Home > News > Industry News
Achieving that flawless, high-end "digital wallpaper" look requires meticulous planning and precise execution. Unlike standard wall mounts, an in-wall embedded LED installation demands a perfect marriage between structural engineering and digital technology.
If you want to transform a standard wall into a seamless, flush-mount visual masterpiece, you must follow a strict, phase-by-step process. This comprehensive guide breaks down the professional installation workflow from the initial frame to the final pixel.
Before you touch a single LED module, you must prepare the physical space. Accuracy during this phase prevents catastrophic alignment errors later on.
Step 1: Calculate Exact Dimensions: Measure your LED cabinet array down to the millimeter. Engineers recommend adding a 3 to 5mm clearance margin around the entire perimeter. This small gap allows for structural expansion and gives installers enough wiggle room to fit the final cabinets.
Step 2: Construct the Recessed Cavity: Cut into the existing wall or build a false drywall structure using heavy-duty light steel keels. Ensure the back wall of the cavity is completely flat, level, and strong enough to support the total weight of the display.
Step 3: Route Power and Data Lines: Run all necessary conduit pipes inside the wall cavity before sealing it. Bring your main AC power lines and Cat6/Fiber optic data cables directly into the recess, positioning them near where your main controller boxes will sit.
The structural frame acts as the backbone of your embedded LED wall. If this frame is uneven, your screen will look warped.
Step 1: Mount the Framing System: Install a customized, CNC-machined steel or aluminum structural grid inside the cavity. Securely bolt this frame to the stud walls or concrete backing.
Step 2: Laser-Level the Structure: Use a professional 3D laser level to check the X, Y, and Z axes. The mounting surface must be perfectly plumb. Even a tiny 1mm misalignment at the base can amplify into a massive gap by the time you reach the top row.
Step 3: Integrate the Ventilation System: Fix your low-noise axial fans at the top of the frame and leave ventilation slots at the bottom. This setup creates a natural chimney effect, pulling cool air from the floor and pushing hot air out through the top ceiling vents.
Once the structural frame is perfectly square, you can begin assembling the display infrastructure.
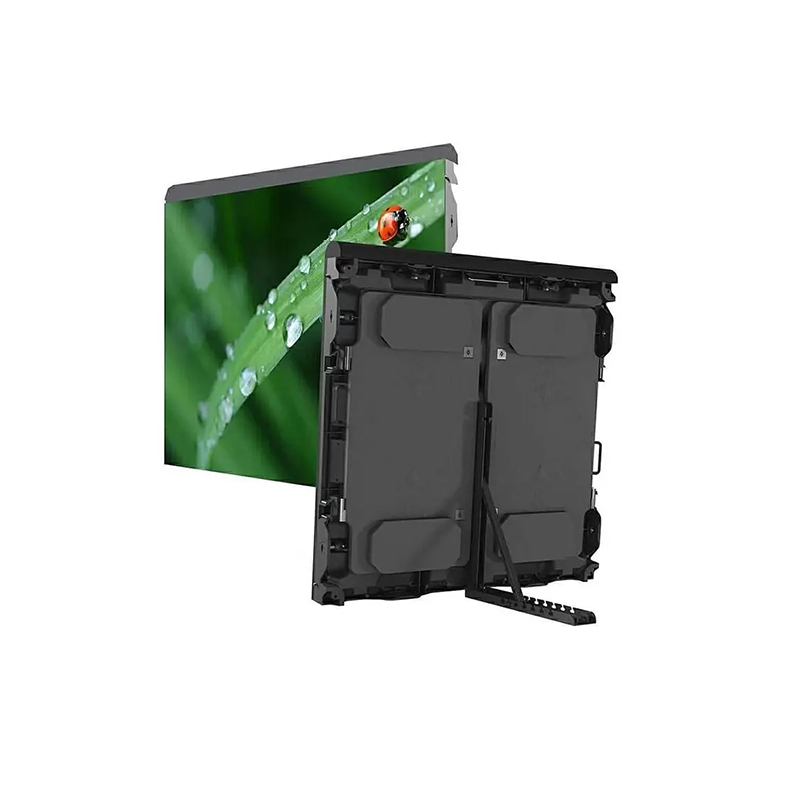
Step 1: Fix the LED Cabinets (Die-Cast Framework): Bolt the empty LED cabinets onto the steel structure row by row, starting from the bottom center and working your way out and up. Do not install the fragile LED lamp modules yet; mount only the structural metal cabinets.
Step 2: Lock and Align Cabinets: Use the cabinet's built-in alignment pins and side-locks to pull the units tightly together. Check for flatness constantly using your hands; the seams between cabinets should feel completely smooth.
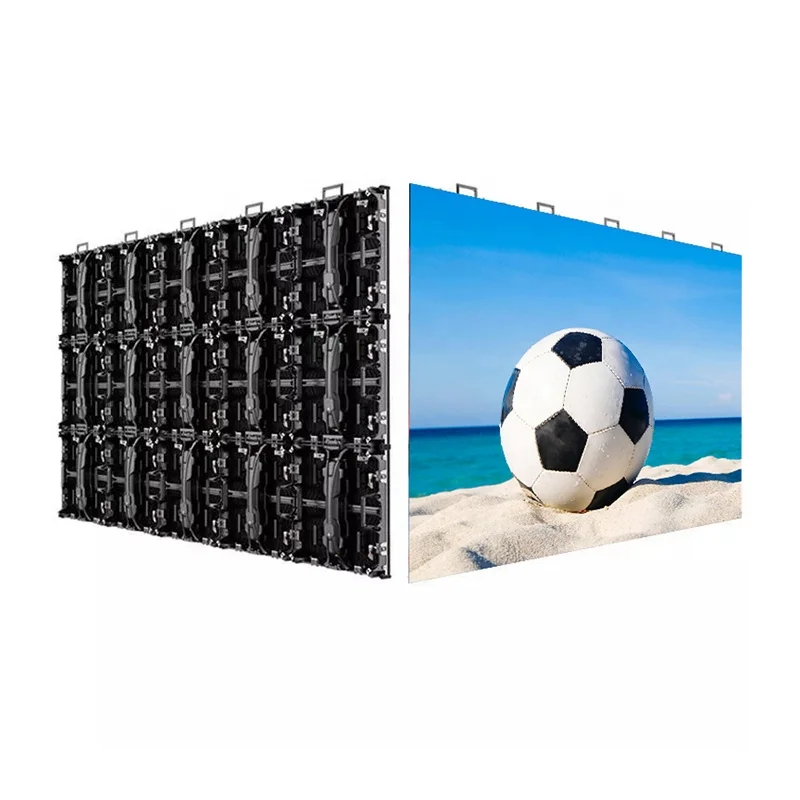
Step 3: Daisy-Chain Power and Data: Connect the internal power jumpers and ribbon data cables from cabinet to cabinet. Organise the slack with zip ties to ensure no wires press against the back of the modules.
With the infrastructure secure, you can now bring the display to life.
Step 1: Power On and Test the Grid: Turn on the main distribution box to test the receiving cards and empty cabinets before installing the pixels. This step ensures your wiring works perfectly before you cover it up.
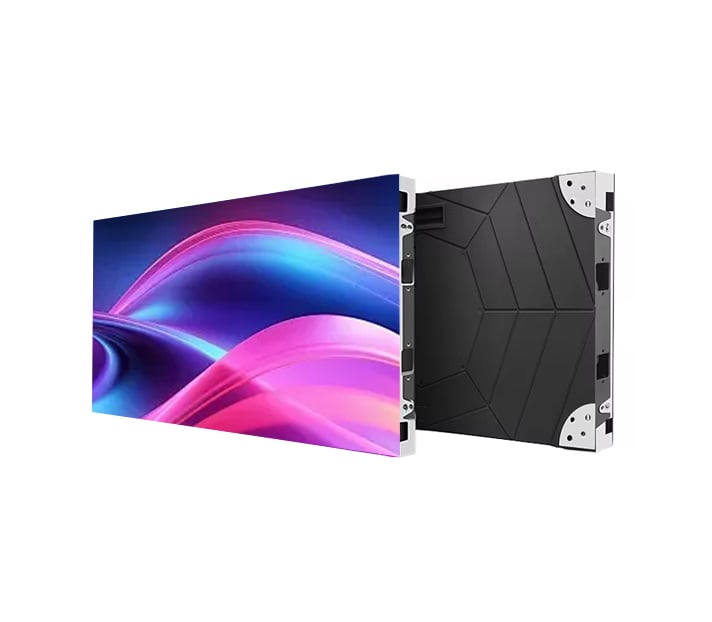
Step 2: Mount the LED Modules (The Pixels): Grab your specialized magnetic vacuum tool. Gently pick up each front-maintenance LED module and let the internal magnets snap it onto the cabinet face. Start from the top and work downward to avoid dropping modules onto lower rows.
Step 3: Install the Decorative Border Trim: Conceal that 3–5mm clearance gap you left around the edge. Install a custom-made trim—such as brushed aluminum, powder-coated steel, or matching wood trim—to create a beautiful, seamless transition between the screen and the surrounding wall.
The physical build is complete, but you still need to optimize the system for peak performance.
Step 1: Run the Configuration Software: Launch your LED control software (like NovaStar or Colorlight) on your PC. Upload the correct RCFG configuration files to map the screen so the processor knows exactly where each pixel sits.
Step 2: Perform a Full-Screen Diagnostic: Display pure white, red, green, and blue test patterns across the entire wall. This test instantly reveals dead pixels, faulty data connections, or color uniformity issues.
Step 3: Fine-Tune Brightness and Color: Calibrate the screen’s brightness to match the room's ambient light. For corporate offices, set the screen to a comfortable nit level that prevents eye strain while maintaining punchy, vibrant contrast.
 EN
EN
 AR
AR
 BG
BG
 HR
HR
 CS
CS
 DA
DA
 NL
NL
 FI
FI
 FR
FR
 DE
DE
 EL
EL
 HI
HI
 IT
IT
 JA
JA
 KO
KO
 NO
NO
 PL
PL
 PT
PT
 RO
RO
 RU
RU
 ES
ES
 SV
SV
 TL
TL
 ID
ID
 SR
SR
 UK
UK
 VI
VI
 ET
ET
 HU
HU
 TH
TH
 TR
TR
 FA
FA
 AF
AF
 MS
MS
 GA
GA
 HY
HY
 AZ
AZ
 MN
MN
 UZ
UZ