Home > News > Industry News
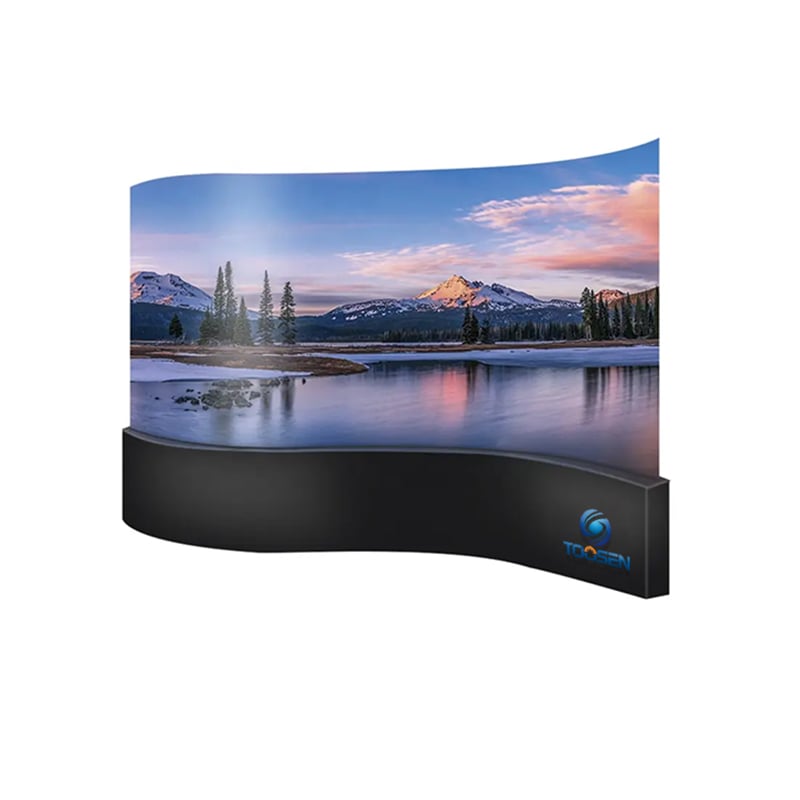
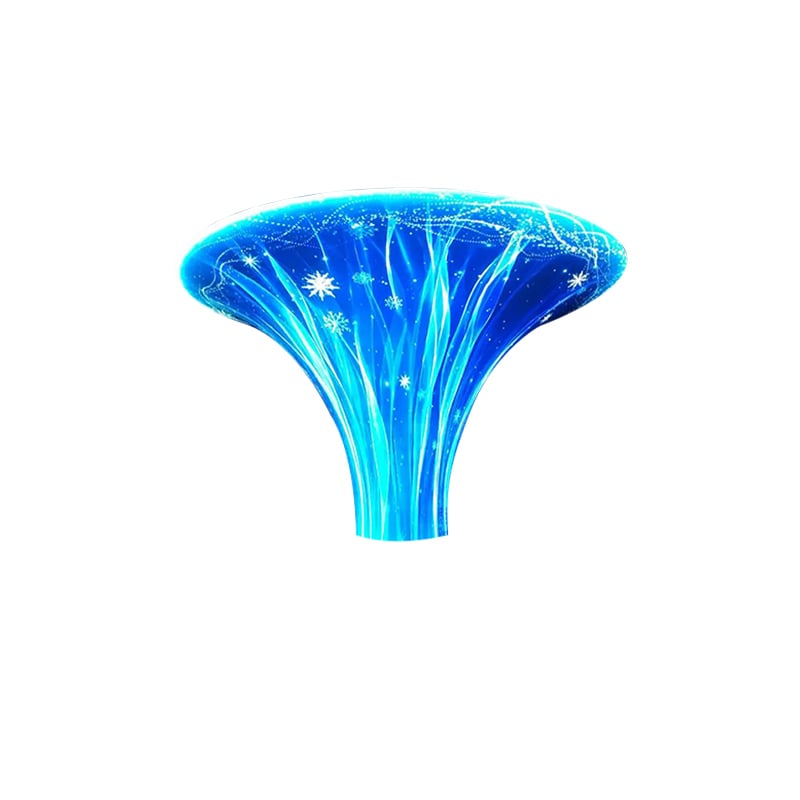
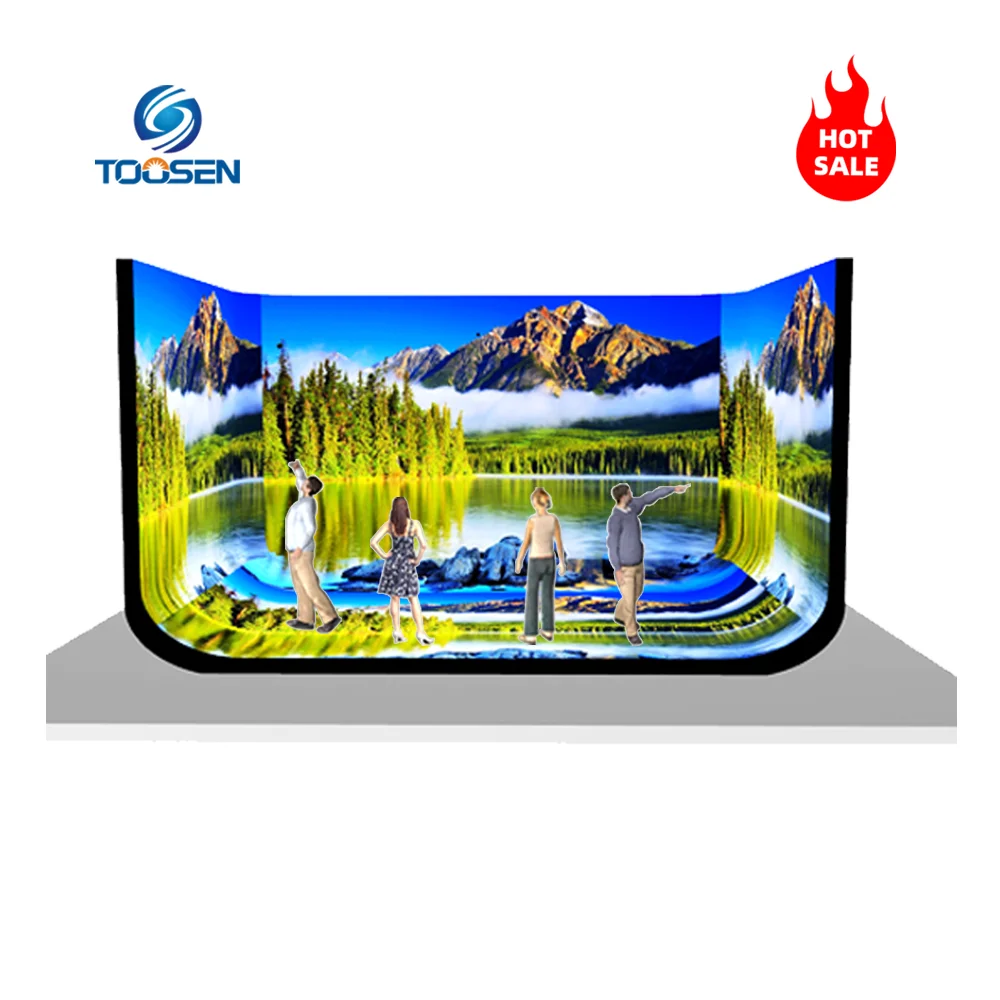
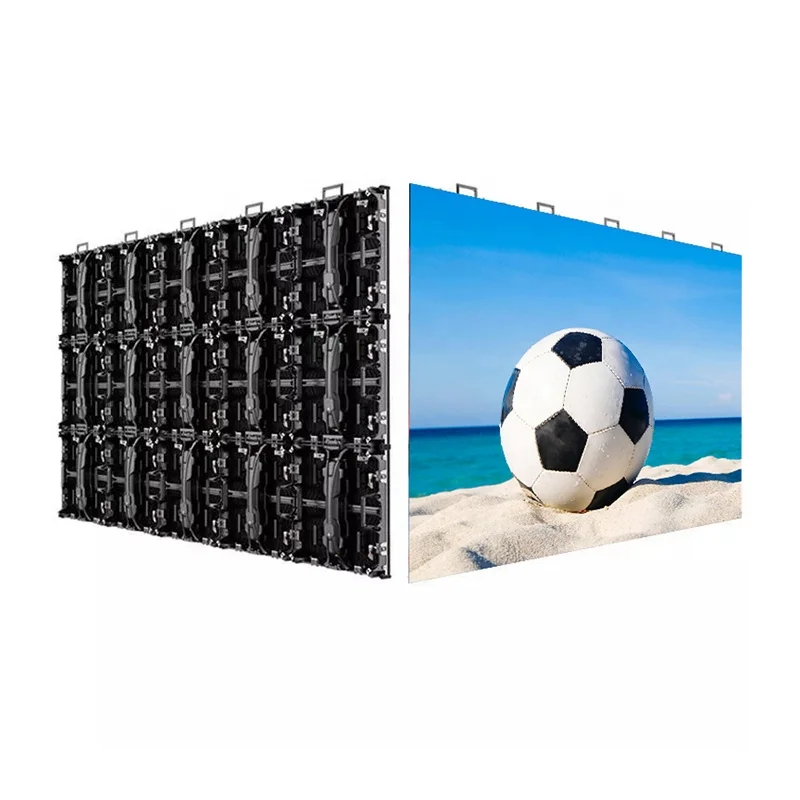
Virtual production has completely transformed the modern broadcast and filmmaking industry. By replacing traditional green screens with massive, ultra-crisp LED panels, creators can now capture stunning, in-camera visual effects in real time. However, building an immersive environment often requires a curved LED wall setup to wrap around the talent. While a curved wall enhances the sense of depth for the human eye, it introduces a major technical headache for the camera: perspective distortion.
When you point a camera at a physical curve, the straight lines within your digital content suddenly warp, bend, and look completely unnatural on the broadcast monitor. Fortunately, industry experts have cracked the code on this challenge. In this definitive guide, we will break down exactly why curved LED walls distort your image and how you can apply professional engineering techniques to keep your lines perfectly flat.
To solve this mystery, we must look at how a camera perceives a curved surface. When you construct an LED wall with even a subtle bend—such as a 5-degree curve per column—you alter the physical distance between the camera lens and different sections of the display. The center of the screen might sit closer to the lens, while the edges recede further into the background.
Consequently, if you feed a standard, flat 2D video signal into this curved setup, the physical geometry of the panels forces the image to stretch out. Your eyes might forgive the slight warp, but the camera lens exposes the flaw instantly. Horizontal lines sag, vertical pillars lean inward, and the illusion of reality shatters. Therefore, to achieve a flawless shot, you must manipulate the video signal before it ever hits the screen.
If you run a high-end virtual production studio, you should not rely on basic video playback. Instead, you need to leverage the power of advanced media servers like Disguise (d&b) or Pixera. These powerhouse systems handle spatial distortion by utilizing a feature called 3D Viewport Rendering.
First, technicians build an exact 3D digital twin of the physical LED wall within the software, mapping out every degree of the curve. Once the software understands the physical layout, it applies an inverse distortion to the video grid. In simple terms, the media server intentionally bends the image in the opposite direction.
As a result, when the camera shoots the warped image on the warped wall, the two opposing distortions cancel each other out perfectly. The final camera feed displays beautifully flat, geometrically accurate lines.
Pro Tip: Add Camera Tracking for Dynamic Shots
If your camera stands completely still on a tripod, you can lock the media server's perspective to that exact spot. However, if the camera moves, you must integrate a camera tracking system. This system feeds the camera's real-time coordinate data back to engines like Unreal Engine, which continuously recalculates and renders the perfect, distortion-free perspective (the inner frustum) precisely where the lens is looking.
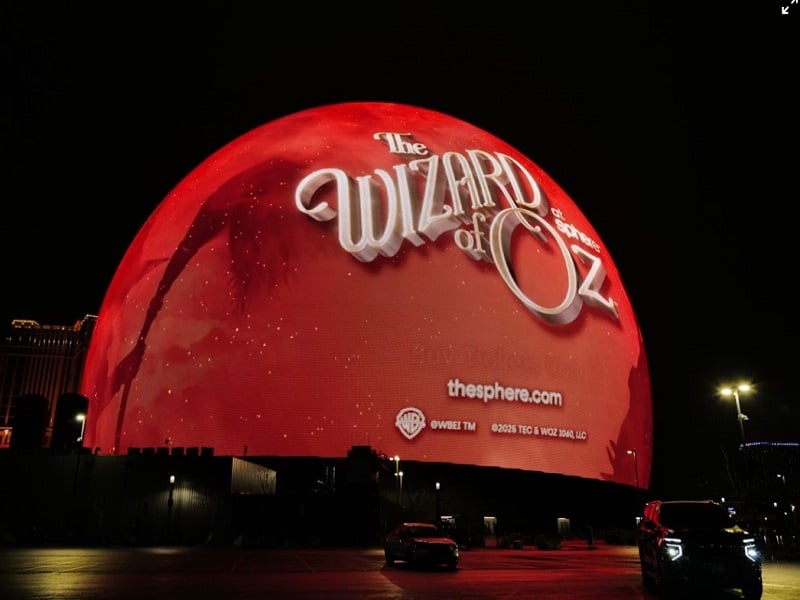
What if you are not using complex 3D virtual sets? Suppose you are simply broadcasting a pre-recorded 2D background or a corporate presentation. In this scenario, running a full-scale media server might overcomplicate your workflow. Instead, you can solve the problem directly at the hardware level using industry-leading LED processors like Brompton Technology (Tessera) or Megapixel VR (HELIOS).
These premium processors offer built-in geometry mapping and mesh warping features. To execute this fix, an engineer follows a straightforward process:
Position the Camera: Place the primary camera in its main shooting position.
Display a Grid: Project a standardized calibration grid pattern onto the LED wall.
Manual Warp: Using the processor’s control software, the engineer manually grabs the grid intersections and adjusts them while watching the live camera monitor.
By squeezing, stretching, and nudging the pixels line by line, the technician forces the grid to appear perfectly square on camera. This hardware-centric approach delivers a clean, cost-effective fix without requiring expensive real-time render engines.
While the solutions above work miracles, engineering always involves compromise. Before you commit to a specific workflow, you must consider two critical limitations:
First and foremost, perspective correction is inherently a single-point solution. Whether you use a media server or hardware warping, you are optimizing the image for one specific camera angle. Consequently, if you switch to a second camera placed off-axis, or if live studio audience members look at the wall, the image will appear heavily distorted to them. You must decide which camera angle takes absolute priority.
In addition, calculating 3D matrices or altering pixel geometry introduces processing delay. Every link in your video chain—from the render engine to the media server, and finally to the LED processor—adds milliseconds of latency. If your on-camera talent needs to speak live or interact with live audio cues, you must implement precise audio-delay compensation upstream in your switcher to prevent lip-sync issues.
Ultimately, fixing curved LED wall distortion comes down to the scope of your project. If you are building an elite, cinematic virtual production stage, invest heavily in 3D media servers and camera tracking to create a truly dynamic environment. On the other hand, if you are managing a broadcast newsroom or a corporate stage with fixed camera angles, utilize the robust mesh warping features built right into your LED processors.
By understanding the physics of your lens and mastering your hardware tools, you can seamlessly eliminate visual warping, protect the integrity of your frame, and deliver jaw-dropping, professional-grade visuals every single time.
 EN
EN
 AR
AR
 BG
BG
 HR
HR
 CS
CS
 DA
DA
 NL
NL
 FI
FI
 FR
FR
 DE
DE
 EL
EL
 HI
HI
 IT
IT
 JA
JA
 KO
KO
 NO
NO
 PL
PL
 PT
PT
 RO
RO
 RU
RU
 ES
ES
 SV
SV
 TL
TL
 ID
ID
 SR
SR
 UK
UK
 VI
VI
 ET
ET
 HU
HU
 TH
TH
 TR
TR
 FA
FA
 AF
AF
 MS
MS
 GA
GA
 HY
HY
 AZ
AZ
 MN
MN
 UZ
UZ